I've been meaning to attempt this for a while, but spurred on by @creamola's 'pioneering' attitude, here goes...
I have a small unit that's blown, it wouldn't be expensive to replace, but I thought it would be worth an experimental fix.
It's about 19 years old and has no coatings.
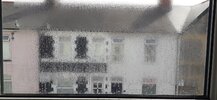
After taking it out, I pulled the tape off and immediately cut myself - wear gloves the corners are sharp!
I marked the inside and outside panes.
Then separated the spacer bars with a paint scraper - the lower seal was the damaged one and came apart surprisingly easily.
Not a good photo, but the lower spacer bar was a mess...
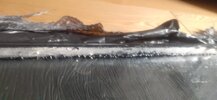
Once separated, the sealant was sliced away from the rear of the spacer bar.
The bar was pulled apart and the saturated desiccant was knocked out - 100 degrees for an hour and all dry...
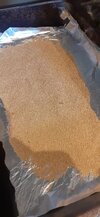
In the meantime, all the old sealant was scraped off with a Stanley blade scraper and WD40, a spray of IPA afterwards cleaned up the WD40.
This was a long and very messy job.
The spacer bar was polished up, but it was pockmarked with aluminium corrosion - the new seal may not be perfect.
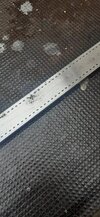
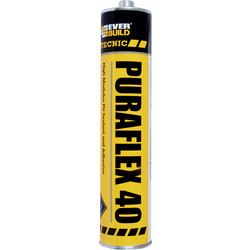
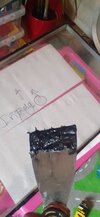
The desiccant was funneled back into the spacer and after some fastidious cleaning of the inside panes, the unit was reassembled using a whole tube of PU sealant...
 www.toolstation.com
Again, a messy job!
The outside of the unit was then taped with Duct tape.
I've just done this so you don't have to!
Was it worth it?
Probably not, it was messy and took about 3 hours for a small unit, though material costs were less than £10 for the sealant and tape.
And as said earlier, this is an old unit, that wasn't coated - don't attempt this with coated panes.
Also, one of the interior panes was slightly etched by the condensation, but it is barely noticeable when installed.
Will it last?
Who knows, but I will keep you updated, if it fails again!
I have a small unit that's blown, it wouldn't be expensive to replace, but I thought it would be worth an experimental fix.
It's about 19 years old and has no coatings.

After taking it out, I pulled the tape off and immediately cut myself - wear gloves the corners are sharp!
I marked the inside and outside panes.
Then separated the spacer bars with a paint scraper - the lower seal was the damaged one and came apart surprisingly easily.
Not a good photo, but the lower spacer bar was a mess...

Once separated, the sealant was sliced away from the rear of the spacer bar.
The bar was pulled apart and the saturated desiccant was knocked out - 100 degrees for an hour and all dry...

In the meantime, all the old sealant was scraped off with a Stanley blade scraper and WD40, a spray of IPA afterwards cleaned up the WD40.
This was a long and very messy job.
The spacer bar was polished up, but it was pockmarked with aluminium corrosion - the new seal may not be perfect.

The desiccant was funneled back into the spacer and after some fastidious cleaning of the inside panes, the unit was reassembled using a whole tube of PU sealant...

Puraflex 40 PU Sealant & Adhesive
Noticing cracks or expansion in concrete? Purafelex 40 PU sealant will help you fix it quickly. It's a useful tool to have in any construction site or home, as it bonds to most materials. This product will work on concrete, wood, metal, aluminium, polyester, glass, uPVC, stone and ceramic.Thanks...

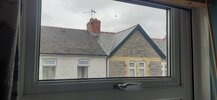
The outside of the unit was then taped with Duct tape.
I've just done this so you don't have to!
Was it worth it?
Probably not, it was messy and took about 3 hours for a small unit, though material costs were less than £10 for the sealant and tape.
And as said earlier, this is an old unit, that wasn't coated - don't attempt this with coated panes.
Also, one of the interior panes was slightly etched by the condensation, but it is barely noticeable when installed.
Will it last?
Who knows, but I will keep you updated, if it fails again!


