Mount TV - large cavity

Joined
18 Jun 2007
Messages
110
Reaction score
1
Country
United Kingdom
Hi folks,

Last year I had some work done on my chimney breast to convert it from the old stone work, to a new flat and painted one (pics below). I now want to mount my 55" TV on there but i'm conscious of the weight of it and don't want to just fix into the plasterboard. (should have thought about that in advance... doh!!!)

Because of the undulations of the stonework, the plasterboard is set about 50mm off the stonework in most places leaving a cavity of that depth between the plasterboard and the stone work behind.

I'm now lost as to how to mount the TV - should I get some very long fixings (100mm or 110mm) to go through the plasterboard, bridge the cavity, (both approx 65mm combined) and fix into the stone work behind...

Or should I cut away the plasterboard and adhesive and perhaps put a wood panel closer to the old stone work (for a flat surface) and then mount the TV on that?

IMG_20170904_195329.jpg

DSC_0103.JPG
 
Sponsored Links
By tapping the wall, can you tell where the adhesive dots are?

I would fix through the dots only, with M8 coach screws and Fischer S 10 plugs. These plugs are 50mm long, your board plus gap you say is 65mm, so you'd want 120mm coach screws. I know that doesn't actually add up, but 115mm screws are unavailable, and the bracket plus a washer will be a few millimetres anyway.
 
Hi rsgaz,

Sorry, you lost me a bit. If I was to use 50mm plugs, are you saying I should push the plugs straight through the plasterboard and dots, and fully into the solid wall at the back? So essentially all 50mm of the plug is in the solid wall and then the screws hang out of the plug by 70mm (i.e. the gap and the plasterboard)?
 
Yes, exactly that. Tighten them nearly all the way in with an impact driver if you have one, then finish the last couple of turns with a spanner or socket set and just clench them up, don't go overboard.

The alternative is to use some 120mm frame fixings, either will be fine. Hitting an adhesive dot is the important bit, you can crack the plasterboard if it tries to pull in too much where there is a hollow gap behind.

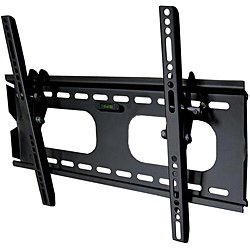
Assuming the bracket you've bought looks something like this...

31lgV1hIpGL.jpg


...with lots and lots of fixing holes, then finding some dots which line up should be easy enough, even if you only manage to get two in the top and one in the bottom, you could hang your own weight from it easily.
 
Sponsored Links
There are fixings specifically for dot 'n' dab, designed to overcome the cracking the board(spanning the gap) problem, such as Rigifix and Corefix, but your situation is too deep for these IMHO. They are both 100mm long, so you'll only have 30 to 35mm going into the brick. 50mm into the brick is much better.
 
Yes thats similar to the bracket.

Would the fixing be any better if I got longer plugs to suit the length of the screw? i.e. 120mm plug and 120mm screw?
 
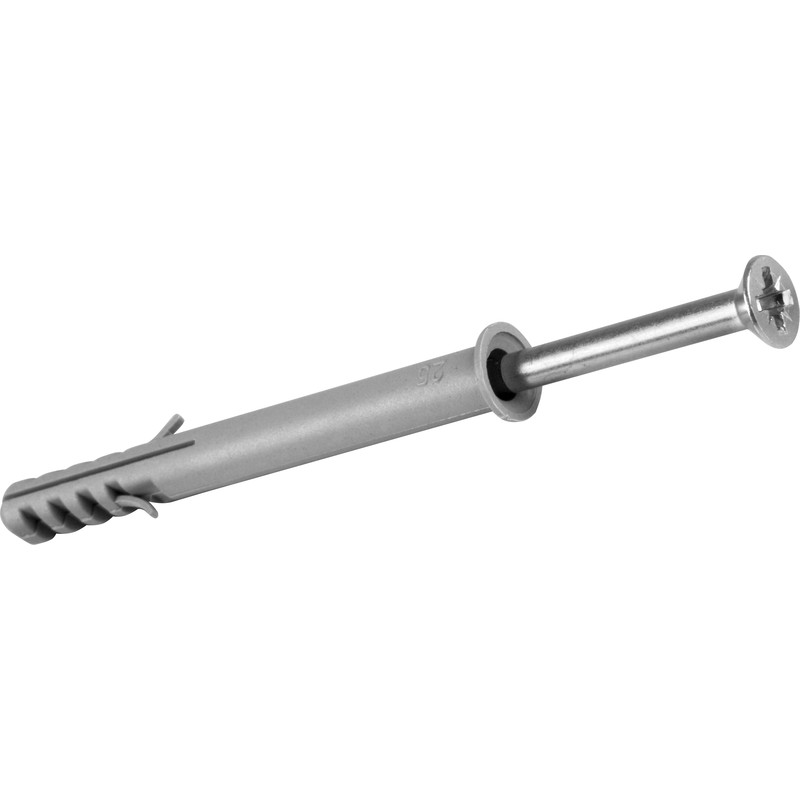
Something like this:

No, look at that plug, it does it's expansion along the middle portion...

Inkedcoach-screws-plugs_9_LI.jpg


That will pretty much only be in the adhesive. It would probably hold just fine, some adhesives seem to set as hard as concrete!! But, it's the brick you are aiming for. Go for frame fixings then if you would prefer it to be 'sleeved' all the way. See how the expansion happens at the tip, nicely/securely in the brick...

37481.jpg
 
Final handy hint for those S 10 plugs, in case that old stone is a bit brittle:-
  • Drill to 120mm depth with an 8mm bit on hammer mode (ideally an SDS drill)
  • Run a 10mm bit into the hole, full depth, but with the drill on rotation only - no hammer.
This will result in a nice clean hole with an accurate diameter, instead of ending up oversize and causing problems.

Great tip, cheers.

Was only thinking earlier that i'm not looking forward to drilling that old stone, its bloody hard.... so was planning to start small and work up. But i'll ensure to change the mode as I get to the full 10mm too. Cheers
 

DIYnot Local

Staff member

If you need to find a tradesperson to get your job done, please try our local search below, or if you are doing it yourself you can find suppliers local to you.

Select the supplier or trade you require, enter your location to begin your search.


Are you a trade or supplier? You can create your listing free at DIYnot Local

 
Sponsored Links
Back
Top