Neat Box

Joined
8 Feb 2004
Messages
8,022
Reaction score
148
Location
Wolverhampton
Country
United Kingdom
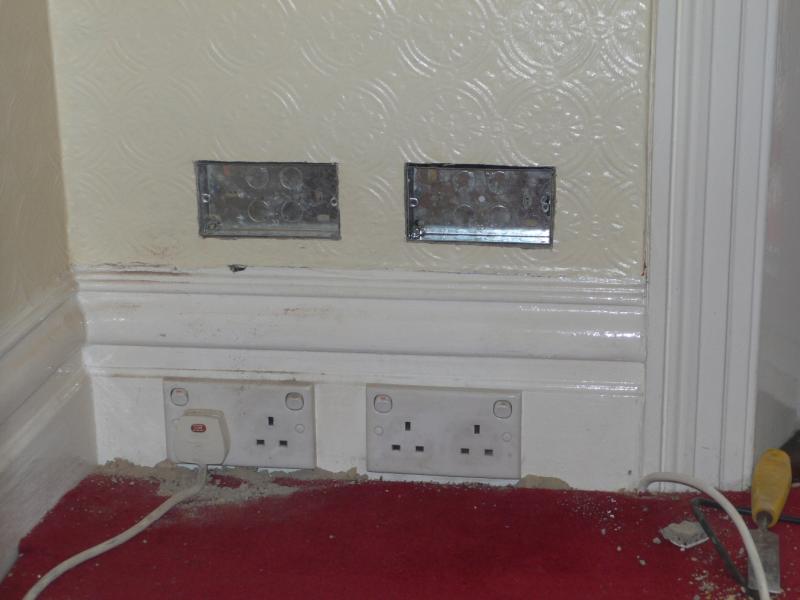
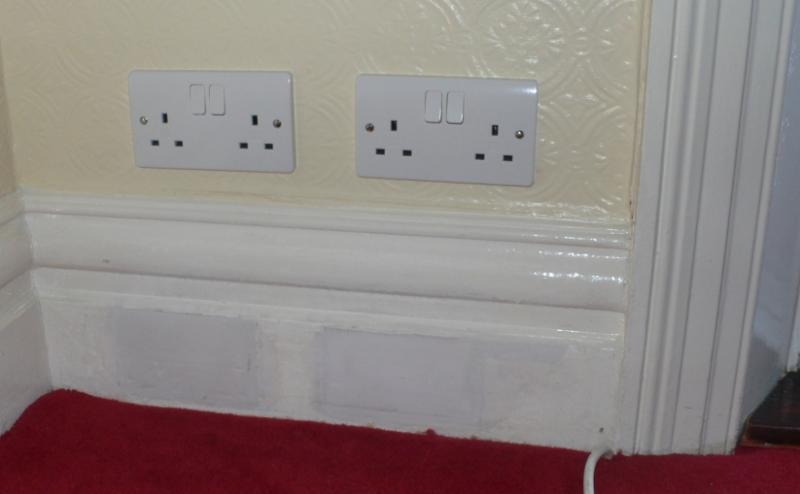
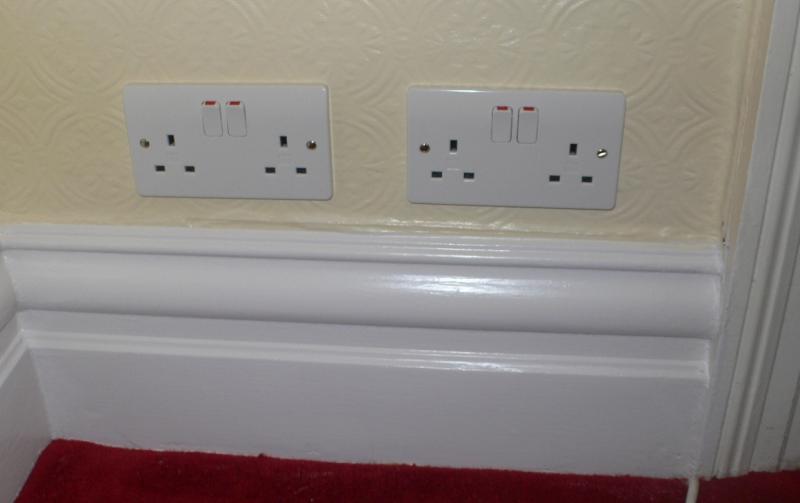
How do you pros get a nice finish around the knock out boxes?

Whenever I have tried to fit one from scratch it always looks messy and the filler has to come out. :(

There must be a knack to this. :D
 
Sponsored Links
Where does your problem originate?

Great raggedy holes to fill, or a cr*p job with the filler?
 
Probably both :oops: .

Is there a link to showing how to do this job to a good standard pls?
 
Sponsored Links
I just use a 6mm drill bit all the way around and some in the middle, then cut the wall paper and chip it out with an electricians bolster.

Usually find almost zero making good required after.
 
If the edge of the box is below the surface and there's a lot of filling to do, you might have more success stuffing the box with newspaper or similar, fill (re-plaster?) straight over the whole lot, then dig the paper out once everything has set.
 
I have an Armeg socket sinking set, got it second hand on ebay.
One of the best things I have bought, minimal damage to surrounding areas, nice neat job.
But as mention previously, the condition the plaster is, is a major factor.
When if first started filling out around back boxes, I got a piece of ply just the right size to fit snugly inside the box, screwed two holes, so I could fix it back to the lugs, as you would with a face plate, cut a pair of MS screws down, so I didn't have to screw up to much, then filled out with one coat or easi-fill. Left to stiffen, then cut in to plaster around the ply to prevent it from pulling the repair away when removed.
Not practical for pro, but suitable for a novice with few repairs to do.
 
There's a non-stick silicone rubber thing you can buy which does the same.
 
How do you pros get a nice finish around the knock out boxes?

Whenever I have tried to fit one from scratch it always looks messy and the filler has to come out. :(

There must be a knack to this. :D

If there's been a serious blow out I set the metal box and fit it (plug and screws), then remove the back box and place matches in the plugs.

Then an appropriate amount of bonding for the blow out, the matches keep the plug positions sighted. The box is pushed in to place and re fixed while the bonding is soft.

The box pushes out the bonding which wraps itself nicely around the box, then it's a 2nd bond to get rough level, allow to set and then finish.

Even if a box is cut neatly, buttering the back and 4 sides of the box void and then setting the box in to soft, buttery bonding- the surplus will fill the gaps nicely.

The otherway which is to fill the gaps after the box is fitted is a PITA to do since the gap might be only 3-5mm, some might use corking or silicone and gun the gap. My attitude is walls are made of brick and plaster and should be filled with cement, bonding, hard filler or plaster !
 

DIYnot Local

Staff member

If you need to find a tradesperson to get your job done, please try our local search below, or if you are doing it yourself you can find suppliers local to you.

Select the supplier or trade you require, enter your location to begin your search.


Are you a trade or supplier? You can create your listing free at DIYnot Local

 
Sponsored Links
Back
Top