Nursery Furniture

Joined
4 Feb 2007
Messages
429
Reaction score
1
Location
Denbighshire
Country
United Kingdom
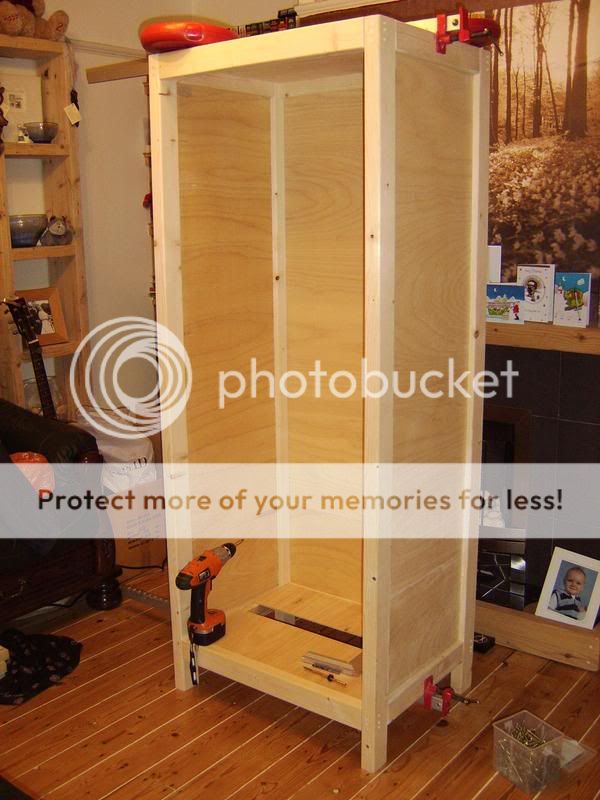
In yet another effort to expand my wood-butchery skills, I offered to make some nursery furniture for a lady I work with. She was after a changing unit and a matching wardrobe for her daughters newborn.

Having seen the prices of pieces from places like mothercare, she realised that she couldn't afford anything more than chipboard nastiness.

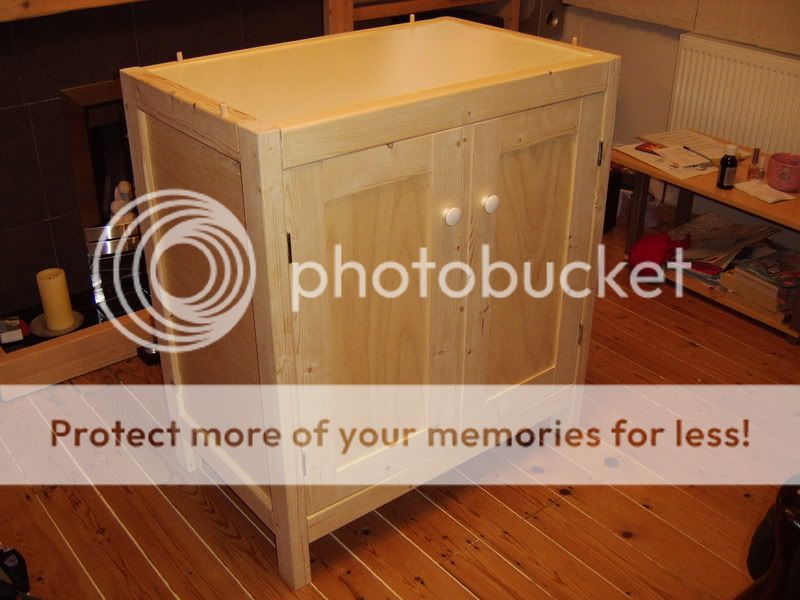
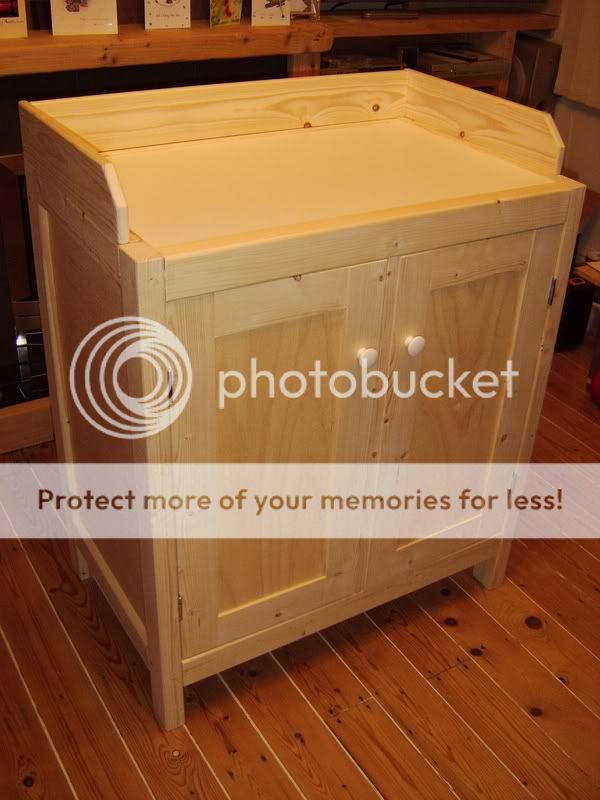
So, in swings I and, for the modest sum of £100 for materials, I bosh together a rather fetching changing table/storage unit and an almost complete small wardrobe and drawer unit. :D

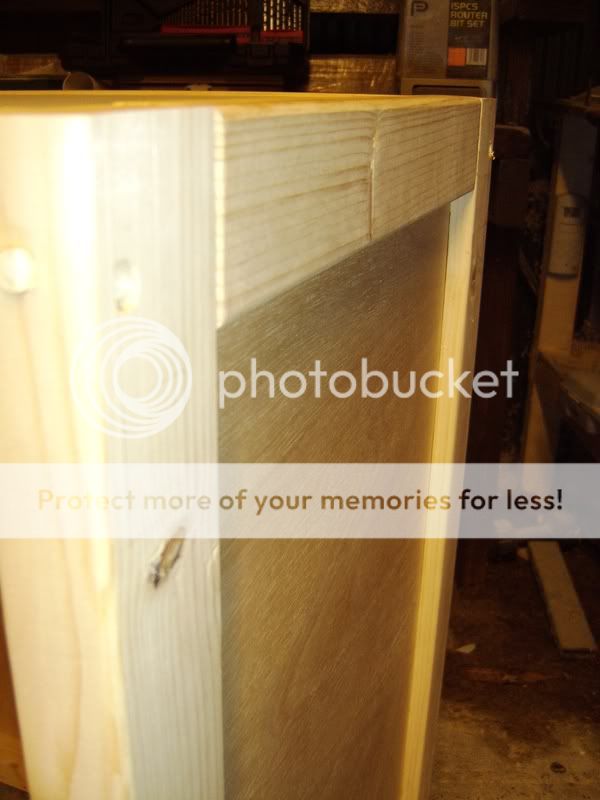
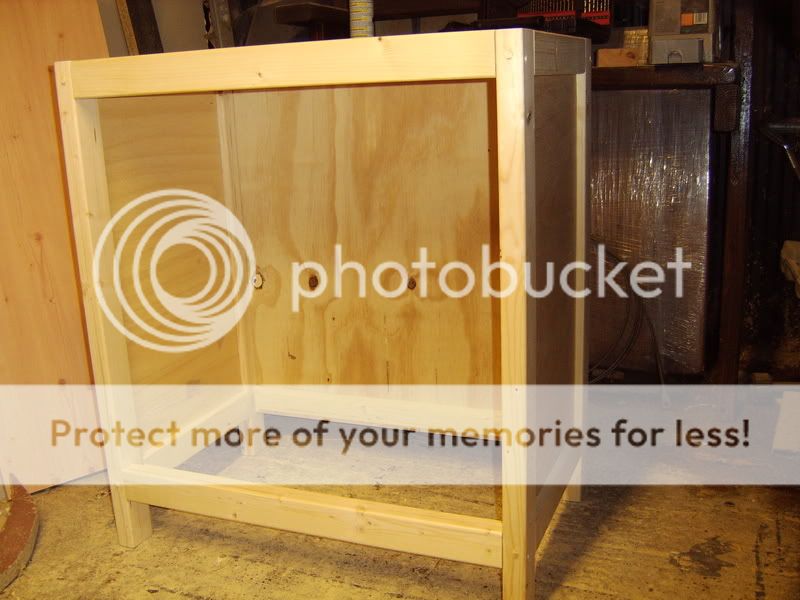
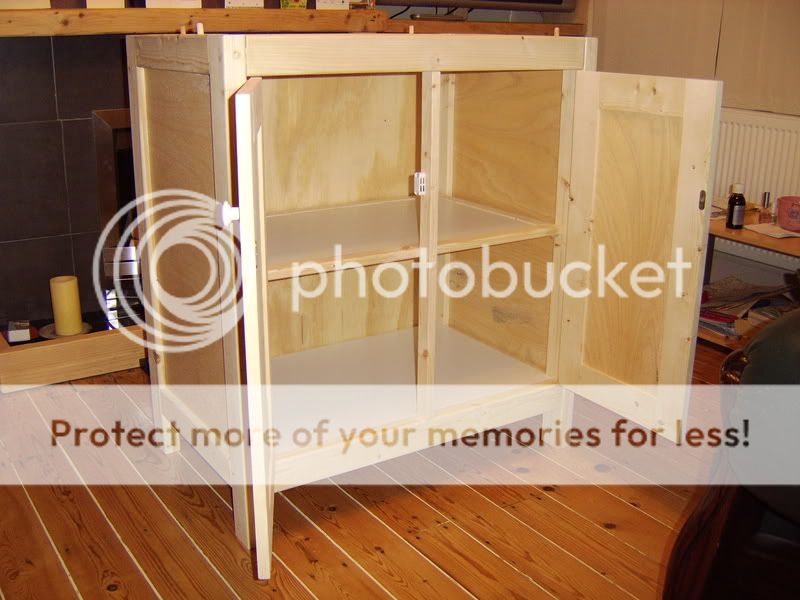
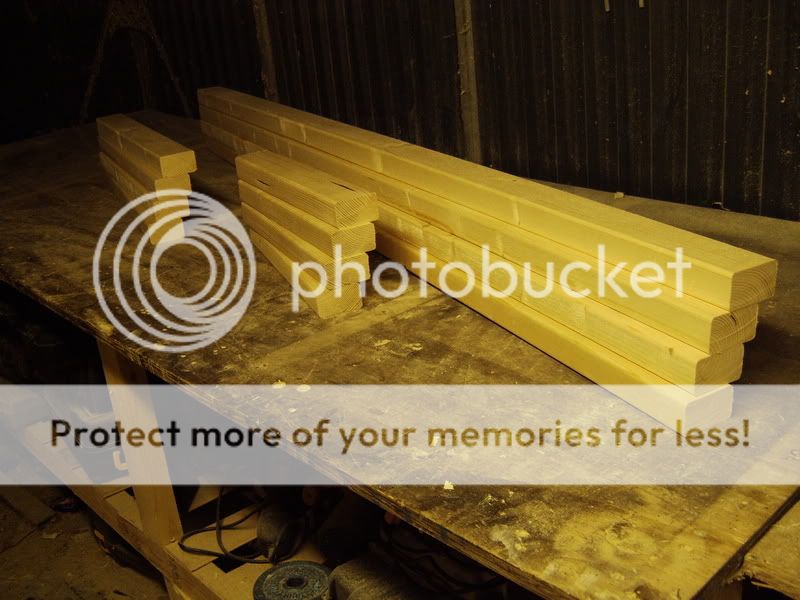
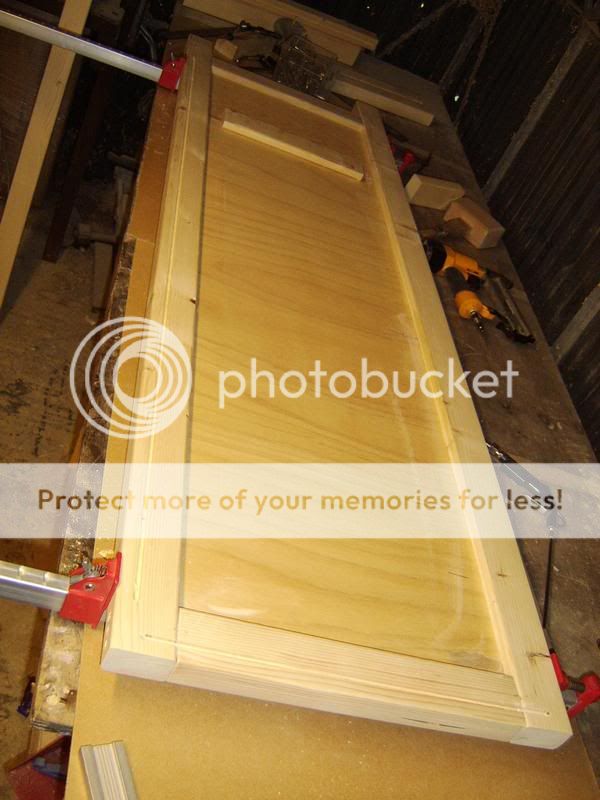
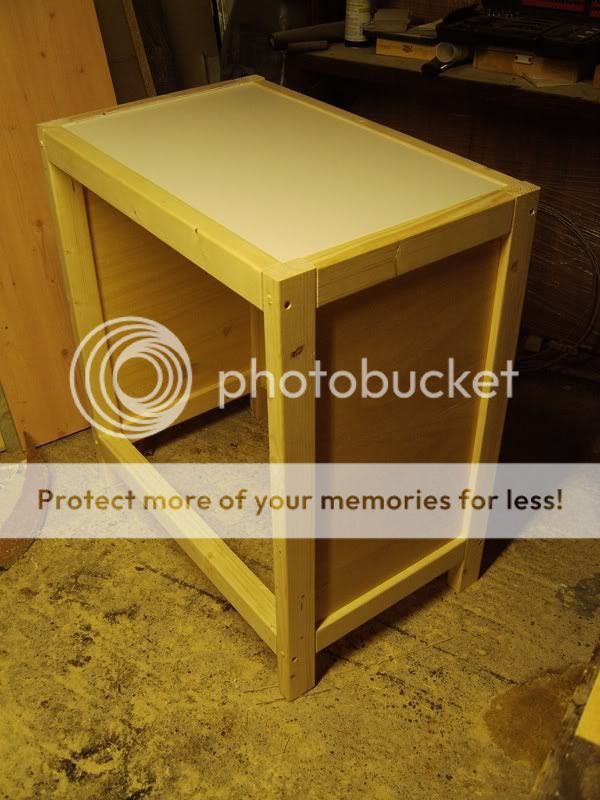
Both pieces are made from 34x64 cls, 6mm ply, 70x18cls and 3mm, white faced hardboard. Ply panels are held in place with a 5x6mm groove routed in the 34x64 cls. Frame is held together with 40x10mm dowels and 75mm screws + wood glue. Doors are from 70x18mm cls, infilled with 6mm ply in a 5x6mm groove. Guard rail on changing unit is from 18x110mm cls and is removable to turn the unit into a standard storage unit after the wee one has no more use of it.

Changing unit
STA71365.jpg

STA71366.jpg

STA71364.jpg

STA71367.jpg

STA71368.jpg

STA71369.jpg


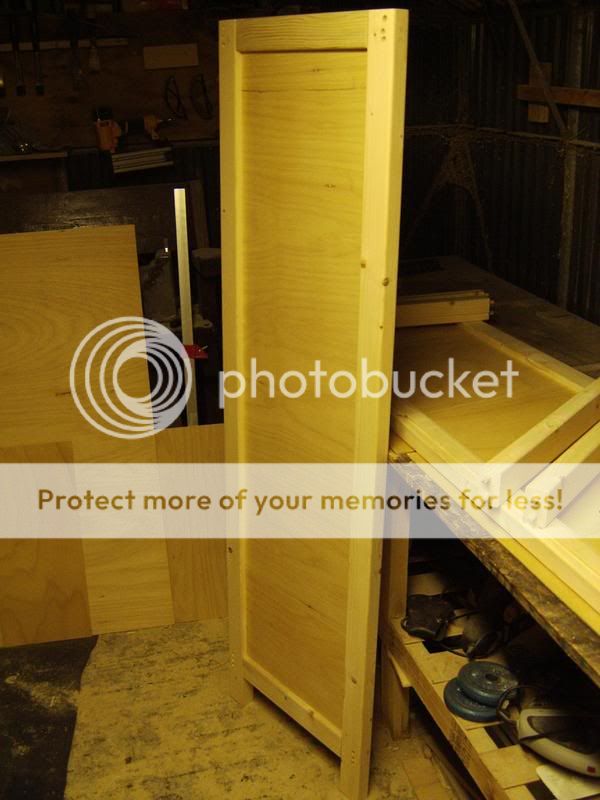
Wardrobe so far:


STA71370.jpg

STA71372.jpg

STA71379.jpg

STA71376.jpg

STA71377.jpg

STA71381.jpg
 
Sponsored Links
awesome..

do you take orders? I have a tv stand i'd like built out of oak..

I'm finding it difficult to phrase the nex bit to make it non offensive, so please bear in mind that it's not intended if it does offend..

I would have been inclined to make the top (or A top for that matter ) so it was not recesesed into the rails.. ( so that the top surface was all melamine ..)

make it more "wipe clean".. it only takes one "leak" to run into those joins...
 
Cheers for that, guys! Love the 'Norm' comment - he's my hero! :LOL:

Pretty much finished the wardrobe. Just needs the front plugs knocking off and re-sanding.

Having hung the full-length door, I realised that it looked a bit .... plain. :confused: The changing unit was smaller and had more detail to it's front. The wardrobe basically looked like any other cupboard.

After running it by the 'client' (get me - I have 'clients' forcryingoutloud... :LOL: ) we agreed that it would look better with the door covering the hanging space and leaving the drawers open.

See what you think.


With full-length doors and finger-pull handle cut-outs:
STA71388.jpg

STA71392.jpg


With 2/3rds length door and white drawer knobs:
STA71393.jpg


STA71394.jpg
 
Sponsored Links
very nice, well done. one little bit of advice, when clamping up the wood, put sacraficial blocks of wood between the metal jaws of the clamp and the the piece you are making. that way the clamp doesnt leave marks on the wood when you tighten it up.
 
Thanks Thermo! Appreciate it. :D

I do keep meaning to use wooden blocks, but by the time I remember to do so I've usually already gone and clamped the piece up! :rolleyes:
 
can't you get rubber feet that go on the sash clamps, like the ones that come on the fast clamps?

p1995117_x.jpg


if not then theres an idea for you to take to the Dragons Den...
 
Thanks, Bespoke.

Having seen some of your own work, I am hugely grateful of any advice you can give me! I'd love to be at your level some day. I'm Looking to work with some slightly better woods than can be found in B&Q, some day. :rolleyes: Have been having some difficulty in finding an Oak/Beech supplier who is willing to sell to me in fairly small quantities. Any pointers?


And 1 ½ pairs of hinges per door would be a good idea.

Thanks for your help, but what do you mean by 1 1/2 pairs of hinges per door, please?


Cheers.
WC :D
 

DIYnot Local

Staff member

If you need to find a tradesperson to get your job done, please try our local search below, or if you are doing it yourself you can find suppliers local to you.

Select the supplier or trade you require, enter your location to begin your search.


Are you a trade or supplier? You can create your listing free at DIYnot Local

 
Sponsored Links
Back
Top