Is there a way i can remove a section of plasterboard between joists on a ceiling
Yes, though I'd consider going with noseall's suggestion of fitting an insulated hatch
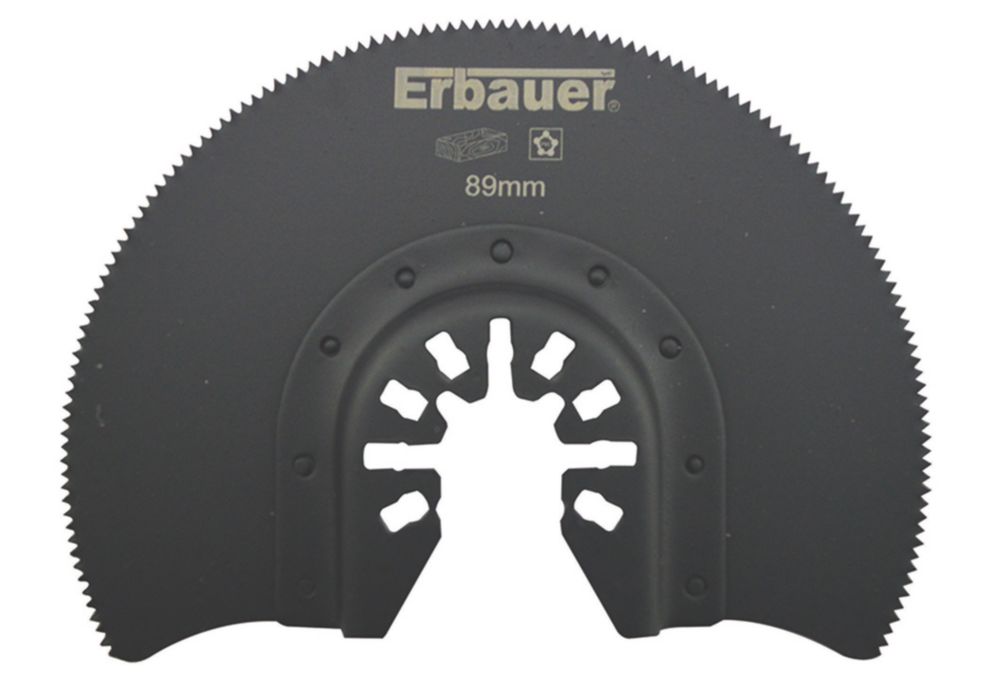
If you obtain an oscillating multitool you can use it to cut a neat square in the plasterboard (you can use a powerful magnet to find the screws, one to know where the joists are, two so you don't hit them with the OMT) so it drops out
When time comes to re fit, cut some lengths of sheet wood (ply, osb, chipboard, mdf, anything you can find lying around or dry in a skip will be fine) etc) so they're about 4 inches wide and about the length of the sides of the hole, then arrange them so they are half on the ceiling board, half sticking into the hole (2 inches visible the entire length of the hole side) and screw them in, having your screws an inch away from the hole edge. Now you have a 2 inch flap of wood all the way round to attach your square of plasterboard to. The end result can be filled with typical decorating filler, as it will be a narrow line and a few screw holes; easily within the grasp of a competent DIYer
If you've had to cut the hole so wide you can see the joists (maybe they're at 400 spacing and you had to cut wide to get your body through them) attach a piece of batten to the joist instead of a flap, to give you something to screw to on those sides
The main thing here for making the finish good, is the use of the OMT; it will make an incredibly neat, narrow cut that doesn't rag the surface of the board unlike a more coarse toothed saw and can start by being plunged into the surface. If you've never used one/don't have one you can buy a cheap AC one; it will come in handy in all sorts of places. Practice on a spare bit of board first to get a feel for it, cos they're a bit weird to start with


