Not sure if I'm reading you right chris. Are you saying you should find the centre point and work out from this point where your last row of full tiles is next to the wall. Then fit a batten and tile from this straight edge?
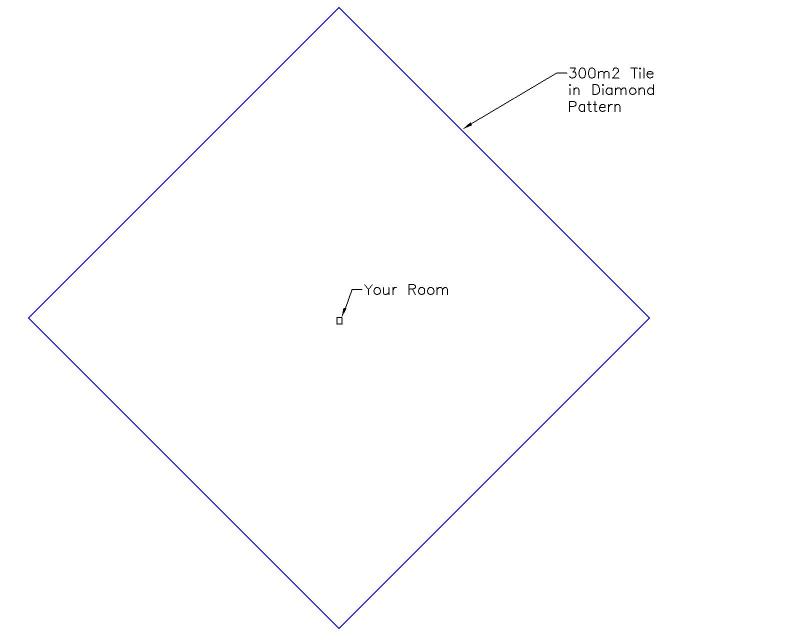
However if you print both images below scaled to fit (without distortion), both on the same paper size you should be able to overlay them in front of a lamp. Tracing paper like and slide or rotate them to experiment with different setting out. First check they print both to the same scale by comparing with the above images.
Not sure if I'm reading you right chris. Are you saying you should find the centre point and work out from this point where your last row of full tiles is next to the wall. Then fit a batten and tile from this straight edge?
find the centre point, dry lay the tiles up the wall, where the last full tile lies, put down 2 battens in the corner making sure they're square, then tile properly from the corner outwards.
I think I will tile in a normal pattern, shifting the tiles slightly off centre to get get rid of the small slivers and the sliver of a tile next to the shower.
Yeah, that'll work fine chris.
A room does not always lend itself to starting from one side - bathrooms are prime examples. When you do a lot of tiling, you get into a routine that works and stick to it - hence, I work outwards from the centre.
The important thing is that you have still worked your new start point from the centre point.
If you need to find a tradesperson to get your job done, please try our local search below,
or if you are doing it yourself you can find suppliers local to you.
Select the supplier or trade you require, enter your location to begin your search.
Please select a service and enter a location to continue...
Are you a trade or supplier? You can create your listing free at DIYnot Local