My Garden tier adventure (updated pics in last few pages)

Sorry to be a pain, but i need to order in the materials this weekend.

What i need to know is:

1) With the 4" round posts, how far should they be below ground?

2) I have reached the sub-base (solid rocks mostly) where the posts will go into, could i have a small trench say 150mm and build up a shutter on ground level of 200mm? So 150mm foundation below ground and 200mm above?

3) Would it be a good idea to use paving slabs concreated in against the earth wall before i put the posts in (To make in a lot stronger), then have a 5" gap between posts and slabs and fill with pea shingle for drainage and protection.

Thanks.
 
Sponsored Links
Have not order yet but will be doing so tomorrow, so could i get some advice please:


1) With the 4" round posts, how far should they be below ground?

2) I have reached the sub-base (solid rocks mostly) where the posts will go into, could i have a small trench say 150mm and build up a shutter on ground level of 200mm? So 150mm foundation below ground and 200mm above?

3) Would it be a good idea to use paving slabs concreated in against the earth wall before i put the posts in (To make in a lot stronger), then have a 5" gap between posts and slabs and fill with pea shingle for drainage and protection.

Thanks.
 
if you reached solid rock at 150mm then your a bit stuck, for the height you have 300mm would be better. Make the trench wider at the front, to help avoid any turning of the posts. They dont look like they will be actually holding a lot back anyway, and what is there is fairly free draining and secure. Do the trench down as deep as possible and once they have been placed and conceret poured you could put some more concrete behind them for extra strength

the paving slabs would be overkill really
 
Thanks, i have one of those small neumatic drills which does get through the hard stuff, but slowely :) I'll persevere and get down to at least 300mm.

Should i have a gap between the posts and earth and put a membrane with pea shingle, like i have read for the retaining walls?

Thanks
 
Sponsored Links
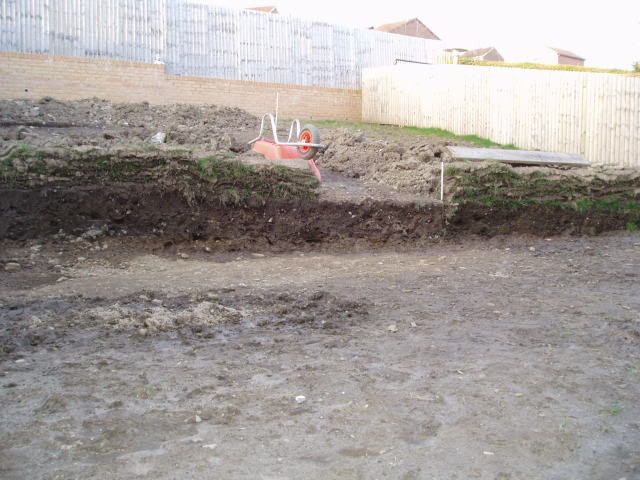
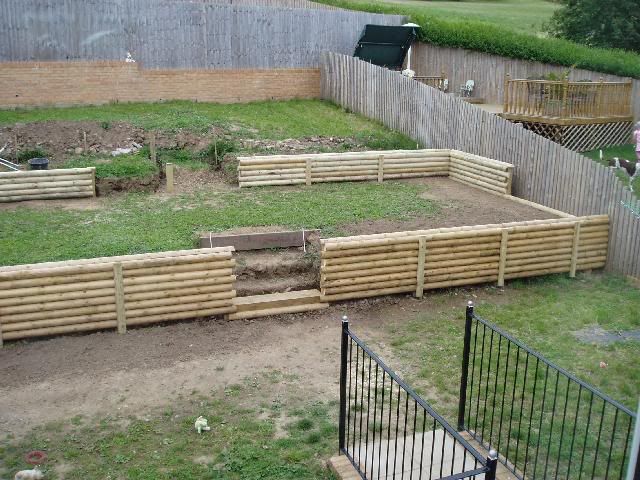
Well i have shaped the garden to how i wanted it (Thank god). It's now time to put the walls up. Instead of using the round posts, i have decided to use the half cut rounds and put them on posts horizontally, basically easier, cheaper and much more versatile for what i want to do.

I'll be using 4" posts to hold the half rounds. So my plan is...

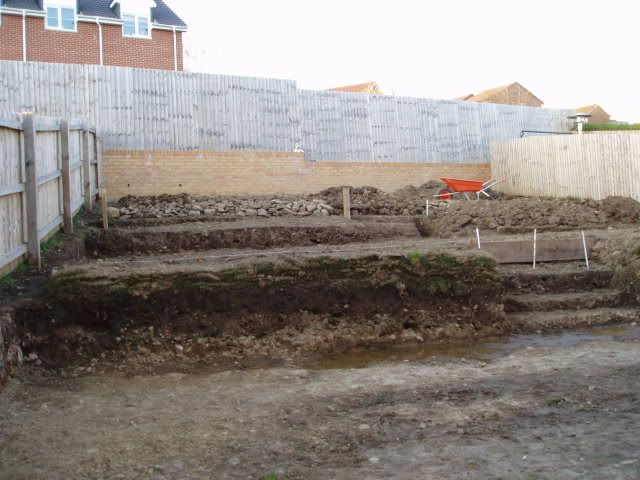
1) Use large paving slabs against the 3 foot earth bank (see pic above). To form a strong retaining wall.

2) Put in the 4" posts 2" away from the slabs.

2) Should i put membrain an then pea shingle between the fencing and the the slabs/retaining wall?

Any other advice most appreciated
 
Here we go, almost shaped:

stage3.JPG


Well i have shaped the garden to how i wanted it (Thank god). It's now time to put the walls up. Instead of using the round posts, i have decided to use the half cut rounds and put them on posts horizontally, basically easier, cheaper and much more versatile for what i want to do.

I'll be using 4" posts to hold the half rounds. So my plan is...

1) Use large paving slabs against the 3 foot earth bank (see pic above). To form a strong retaining wall.

2) Put in the 4" posts 2" away from the slabs.

2) Should i put membrain an then pea shingle between the fencing and the the slabs/retaining wall?

Any other advice most appreciated
 
Ok guys need you advice, don't know where to start.

I have all the wood in, posts, half rounds, sleepers.

Now from the last pic you can see the make shift steps, this is where i will be starting, Post either side. Now the half rounds are 3.66 m long and the left area beside the steps is 4.2 m and the area to the right is 4.6 m (reason being is that the first slab steps were not put in th centre for what ever reason)

So what's the best way to do this so it's asthetically pleasing, one way is to split the areas into 3 (4 posts) and have 3m lengths and 1m lengths staggered (every other course, 10 courses in all) Kinda like:

_______________ ________
_______ ________________
_______________ ________
_______ ________________
_______________ ________

Rather than:

___ _____________________
___ _____________________
___ _____________________
___ _____________________
___ _____________________


Many thanks
 
Kinda been talking to my self on the last few posts LoL

But i have all tho posts in now and nearly finished the horizontals half rounds. will post pics when i have done the lower area for a critique :)

Just need advice on protecting the back of the wood, would a membrane between the shingle and wood needed?

so you have bank of earth/clay, shingle, membrane, wood.

If so which membrane would be the best to use?

Thanks
 
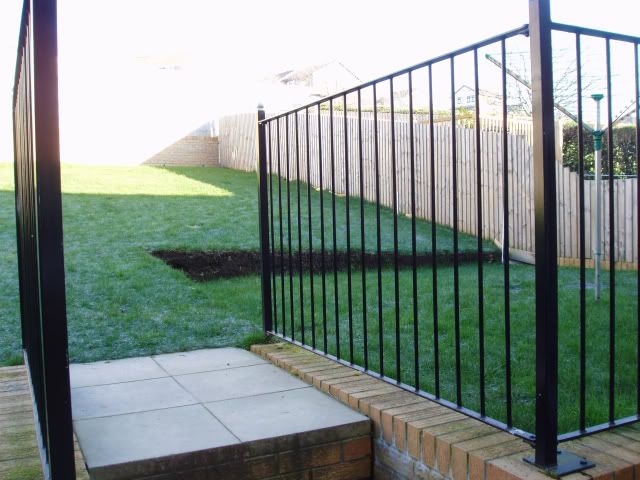
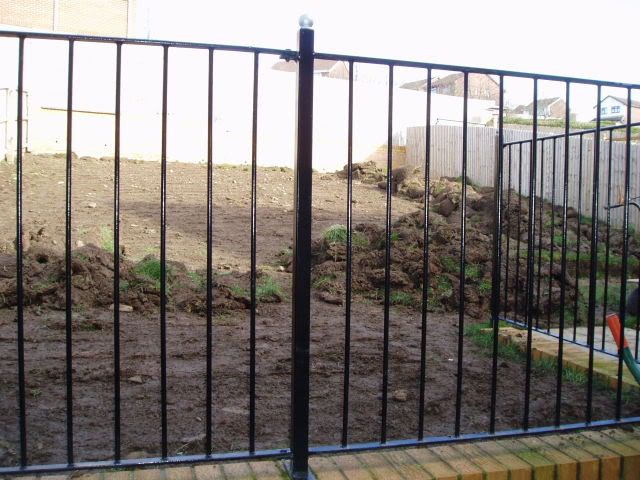
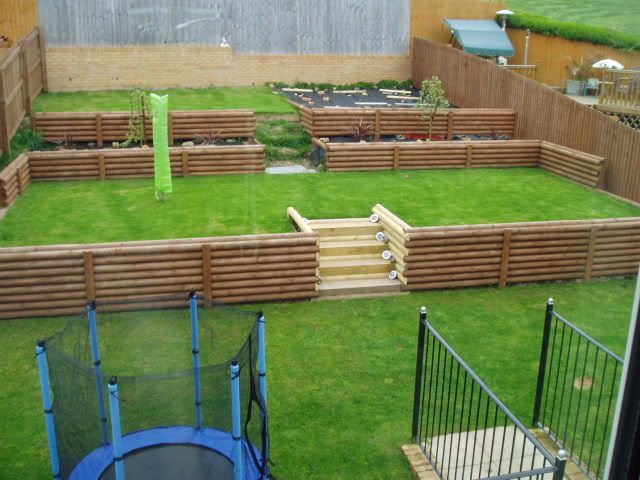
Just an update as my image hosting has moved. I don't have the original shoot of garden (will update later) but here's the difference between starting the Log cabin style walls and after. I am really pleased with the results, i just have to get the trees and shrubs in now and get some decorate slate for around the grass edges and finish the top steps, o yeah and the decking for the top right, but that will be next year i guess :)

In the beginning: (well i did a small area to get a taste of what i was letting myself into)

f1.jpg


Cutout2.jpg


Last March:

Grass up:

Grassup1.jpg


Excavation begins all by pick and shovels -

P1010001.jpg


P1010002.jpg


P1010002a.jpg


Last August 08 -

garden0808.jpg


April 09 -

garden0408.jpg


Comments welcome :)
 
That is a proper job indeed, looks great. What are the plans for the rear right area with the black covering?
 
Thanks mate. That are at the back right will be decking - The decking will be stepped into 2 areas as i run out of top soil to level it :). The area is quite big so will be enough room for large table & chairs play area for trampoline etc.

Top left is where the shed will go and maybe a vegetable patch.

I actually took today off work to recover from the weekend as i brought up another tonne & a half of chippings to fill behind the walls and a tonne of blue slate for the bedded area where the trees are.

I'll just update the post above with the garden as it was and some stages of the back breaking work! But when i see my 4 year old daughter on her trampoline or playing with the dogs, it makes it all worth it, as before the slope was really unusable for her!
 
Hi ,

Your garden (deefadog) looks absolutely brilliant from the photos! I am a complete novice diy gardener and would love to find out how you did those walls using the round fence posts. Any chance you could give me a step by step break down of how to do it as i really would like to use that in my garden? I have a section that needs a bit of a retaining wall 5m across the garden before the decking steps and another area that runs on a slope down the side that i would like to box in as a raised border about 10m long.

Any info would be much appreciated from anyone
 
Hi! Well they are half rounds, but look the real deal from the front LoL

This is how it was done, I put in the large fence posts every meter or so, sunk a third of the height, so 6ft, would go in 2ft etc.

Then just cut to size and attach with screws, if you have 2 cordless drills, then it the easiest as you can pre drill a hole and screw after - make sit so much easier!

Then the front vertical half round are attached ont he front, they are just decorative and serve to real purpose :)
 
Hi, sorry but when i said novice i really meant novice. I get the sinking the posts bit but then what am i cutting to size and screwing into place? Do i need just vertical fence posts or is there horizontal sections of wood attaching them too? If so is this what i attach the half rounds to?


Sorry but thanks again.
 

DIYnot Local

Staff member

If you need to find a tradesperson to get your job done, please try our local search below, or if you are doing it yourself you can find suppliers local to you.

Select the supplier or trade you require, enter your location to begin your search.


Are you a trade or supplier? You can create your listing free at DIYnot Local

 
Sponsored Links
Back
Top