Skirtings - To Scribe or Not?

Are you using the right tools for your scribe?

I find the best method is to cut a 45 deg mitre on the end you will be scribing. Then, with a fine tooth hand saw, cut off the flat part of the board up to the point where the moulding starts. This leaves you with the just the moulded part of the board to scribe. Using a coping saw, start at the top of the skirting and, leaning back all the time, cope around the inside of the ogee profile keeping the saw moving at all times. I also have a couple of round surform hand files that I use the smooth out any rough edges.

I have little (none) carpentry skills and I manage to get pretty good scribes with a bit of practice. It's definitely worth scribing internals as they look so much better than internal mitre cuts....
 
Sponsored Links
Are you using the right tools for your scribe?

I find the best method is to cut a 45 deg mitre on the end you will be scribing. Then, with a fine tooth hand saw, cut off the flat part of the board up to the point where the moulding starts. This leaves you with the just the moulded part of the board to scribe. Using a coping saw, start at the top of the skirting and, leaning back all the time, cope around the inside of the ogee profile keeping the saw moving at all times. I also have a couple of round surform hand files that I use the smooth out any rough edges.

I have little (none) carpentry skills and I manage to get pretty good scribes with a bit of practice. It's definitely worth scribing internals as they look so much better than internal mitre cuts....

I definetly have the correct tools: coping saw, files and Evolution sliding mitre saw. I'll give it one more go.... :mrgreen:
 
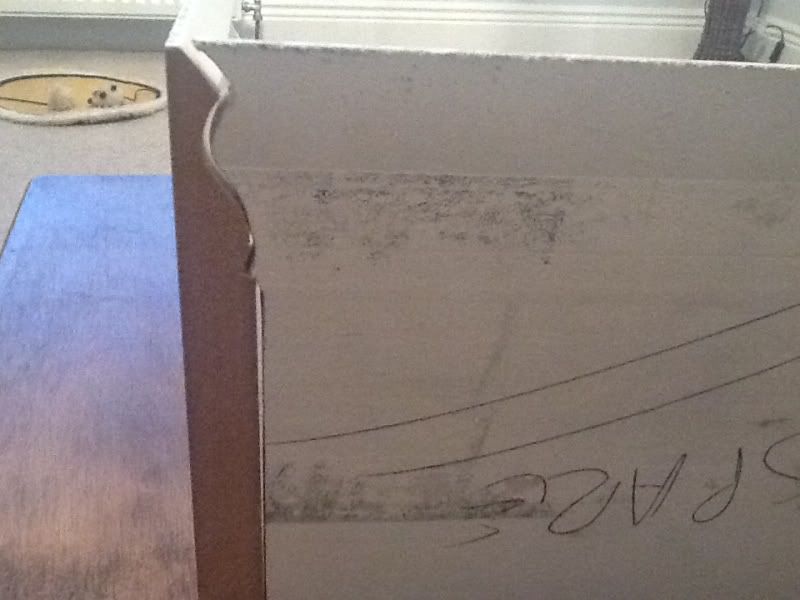
Well this is my 'effort'

0c6894be.jpg


As you can see there's lots of daylight getting through. The shop will love me with all the filler I'll need if I scribe :LOL:
 
Sponsored Links
Well this is my 'effort'

0c6894be.jpg


As you can see there's lots of daylight getting through. The shop will love me with all the filler I'll need if I scribe :LOL:


ive seen so called professinals do a worse job then that.

1 THING YOU HAVE MISSING a bevel,thats why the joint isnt cut tight,
fit the non scribe piece to the wall then using the bevel transfere the angle onto the other piece,move the angle on your saw to corispond with the bevel mark,then if your saw allows make the slight bevel/mitre cut.
the remove excess as required.

then post another pic up of the results,im(fingers crossed)hopeing you will be a lot happier with the result, ;) :)

Thanks for the advice.

I'm assuming you mean a bevel to take into account the board not being exactly 90 degrees to the wall? Or do I have that wrong?
 
Yes....

As a rule I always "lean back" when cutting. Basically you can then have the face of the boards flush but you have a bit of room around the back to allow for some movement...
 
well sort of,i always tend to under cut anyway,but a bevel is an angle finder.

another way to do it without a bevel,as said fit the non scribed board to the wall,and bring the next board up to it,then using a piece of say 2x1 place that against both boards in the corner and run a pencil line up the loose board this then ensures that the angle will be correct when cutting,bearing in mind that the chances of your floor being level/even or wall being upright are pretty much slim.

hopefully ive managed to explain it resonably ok for you to understand???? ;)

Thanks for the info. As it happens I decided to cut an internal at 45 degrees to see how it looked. All the internals actually look good and fairly true; put it this way, I'll be using more filler and tearing our more hair if I try to scribe :LOL:
 
Well this is how it turned out:

IMG_0608.jpg


Room was skimmed, skirting and facings done and then decorator came in. I went with a 45 mitre cut and in all honesty the finish is great; very little filler needed at all.

These damn recycled mirror doors on the other hand.......... They have been a nightmare. I just could justify the cost of a new set right now so prepped and painted these with car paint. From Gold to White. They're not on the best runners though and I don't think a new set would fit.

IMG_0616.jpg


[/img]
 
its easiest to scribe around the end of an offcut then use a jigsaw with narrow blade. I guess the accuracy comes from being able to follow the scribed line as well as scribing it accurately in the first place. Anyway, decorators caulk is your friend ;)
 

DIYnot Local

Staff member

If you need to find a tradesperson to get your job done, please try our local search below, or if you are doing it yourself you can find suppliers local to you.

Select the supplier or trade you require, enter your location to begin your search.


Are you a trade or supplier? You can create your listing free at DIYnot Local

 
Sponsored Links
Back
Top