- Joined
- 18 Jul 2016
- Messages
- 1
- Reaction score
- 0
- Country

I have an Exxcel WTE 86308 GB that stopped in this manner. This morning I took it apart and cleaned out the sludge, which I hope has cured it - there's a load of washing on now some of which will get tumbled (despite the temperature being 30 degrees) so fingers crossed.
I found Manju's post most useful - I just followed the dismantling process as described. However you have to be aware that there may be two types of "screw" used - into plastic they are screws, whereas into metal they are bolts. I thought it might be helpful if I added a little detail to the above post. This is what was used on my 83608:
You need two torx bits or torx screwdrivers size tx15 (to dismantle the pump motor) otherwise tx20 for all the screws/bolts.
Remove top cover removing two back corner bolts, slide backwards and lift out.
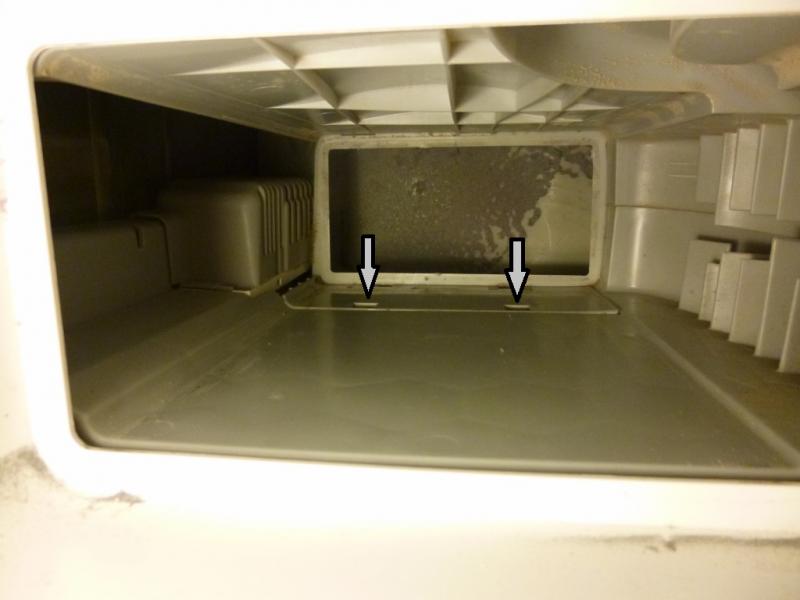
Next thing is to remove the left hand panel (as you are facing the machine) or the nearest to the wastage tank. Remove 2 bolts from the top, the remaining 2 bolts and 2 screws from the rear, one bolt at bottom. Then remove waste tank; behind the front you'll find 3 screws holding the plastic control panel, remove them and the countersunk bolt on the right. Pull the whole control panel towards you; you'll hear unclipping noise (3 clips on top, 1 underneath) but it's fine. This reveals 2 more bolts holding left panel. Remove them.
Once all fixings are removed you have to slide the panel backwards by prying off from front side. Remove panel.
Now u'll see a black hose and a white plastic pipe connecting the pump at bottom rear corner. Firstly remove the plastic pump cover to gain access to pump (one screw and press clips from sides, lift up). Then disconnect two wiring connections to pump and the black hose. U'll find a clip retaining the pump next to wiring securing clip. Unclip and slide pump forwards. (On mine I then removed the wiring clip from the pump assembly by squeezing and pushing through, to free the pump completely).
Read more: //www.diynot.com/diy/threads/b...-container-issues.248668/page-4#ixzz4EllTzAID


