You are using an out of date browser. It may not display this or other websites correctly.
You should upgrade or use an alternative browser.
You should upgrade or use an alternative browser.
Replacing the Kitchen
- Thread starter mdbalson
- Start date
Sponsored Links
it is ok provided the joint is suitablly enclosed and that all cables remain in safe zones (remember if a joint is hidden then it doesn't form safe zones arround itself)
The joint would be above the ceiling.
Would it be a good idea to wrap the crimped joint in tape
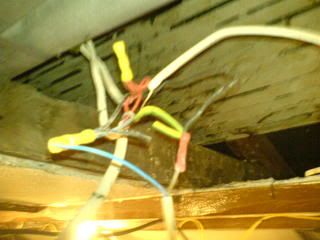
The old electrics
The Join for the old lighting circuit (notice that the cpc's are just turned together)
The New electrics
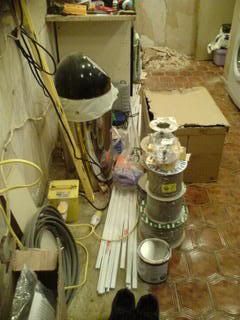
The new electrical bits
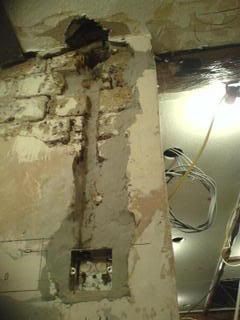
The new back box for the bathroom light switch
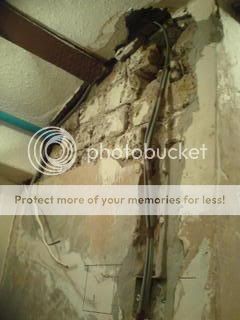
The cables for the new bathroom light switch
The cable to the bathroom light
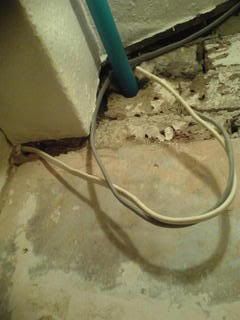
Cables to the bathroom light switch & the under cupboard lights cable
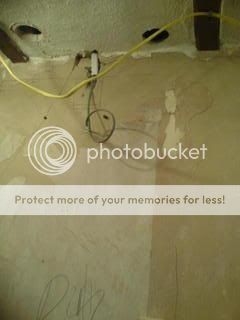
under cupboard lights cable
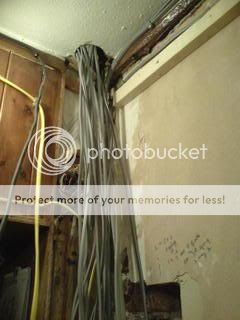
Half of the new cables (15 out of about 25)
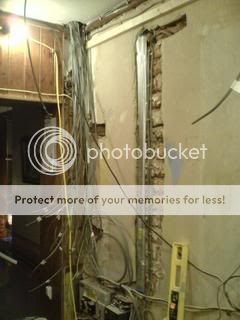
Close up of half of the cables
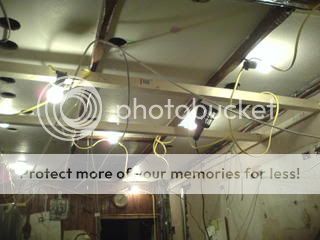
Some of the joists for the new ceiling & the downlights cables
The Join for the old lighting circuit (notice that the cpc's are just turned together)

The New electrics
The new electrical bits

The new back box for the bathroom light switch

The cables for the new bathroom light switch

The cable to the bathroom light

Cables to the bathroom light switch & the under cupboard lights cable

under cupboard lights cable

Half of the new cables (15 out of about 25)

Close up of half of the cables

Some of the joists for the new ceiling & the downlights cables

Sponsored Links
Just how many temporary lights do you need in your kitchen - it appears there are eight that show in the photo alone
It is set of 10, 110v festoon lights, with 1 bulb in the bathroom
Your posts baffle me. You are happy to discuss the pros and cons of 12V vs 230V downlights, but justdismiss any question that you may be working beyond you ability and experience.
When you ask 'Can I crimp cables' or state 'it's okay to awap a boad because the existing one has MCBs and so does the new one' I would say you show your inexperience. Please don't just ignore this. Rewiring a house is way beyond your shed mate. I seriouly recommend you get in a spark.
Looing at you photos:
- the back box seems to have 6 inches of plaster around it. Poor workmanship.
- you seem to have a cable running up the wall then across the bottom of your ceiling and into a hole. Did you mean to do this?
- what are you feeding with 25 cables? Have you decided to rewire your house now, in addition to the kitchen rewire and board change. You do realise this makes you responsible for the whole of your installation and requires an EIC.
I'm not replying to have a go at you, just pointing out that you seem to be way out of your depth here. You need more than the courses. You need on-site experience before taking on the jobs you are tackling.
- Joined
- 16 Sep 2007
- Messages
- 1,908
- Reaction score
- 163
- Country

^^ Give the guy a break... You've suggested he gets a pro in, he's confident he can do it himself and isn't going to get a pro in until it doesn't work. There's nothing more you can do 
I can't for the life of me figure out that wire through the wall, and up into a hole in the ceiling.
I can't for the life of me figure out that wire through the wall, and up into a hole in the ceiling.
I can't for the life of me figure out that wire through the wall, and up into a hole in the ceiling.
What the 2 cables which come from the ceiling, & go through the wall
If So, the 2 cables go to the bathroom light switch.
Or the cable on the switch side of the wall which comes through the wall & up into the ceiling
Your posts baffle me. You are happy to discuss the pros and cons of 12V vs 230V downlights
I have not said about the pros & cons of 12v vs 230v downlights, in any of my posts
Looking at your photos:
The back box seems to have 6 inches of plaster around it. Poor workmanship.
This is because I reused the hole from the old bathroom light switch, which was there before, as it is in the right place for the new bathroom light switch, & the old hole was rubbish before.
You seem to have a cable running up the wall then across the bottom of your ceiling and into a hole. Did you mean to do this?
Which picture are you saying about
What are you feeding with 25 cables?
The 25 cables are:
- 2 cables for the kitchen sockets
2 cables for the utility room sockets
1 cable for the smoke alarms
1 cable for the Kitchen A/C unit
1 cable for the feed to the bathroom light switch
1 cable for the feed to the utility room light switch
1 cable for the undercupboard lights 5A sockets (5 sockets)
1 cable which goes to the back floodlight
5 cables for Downlight circuit 1 (DLC1)
4 cables for Downlight circuit 2 (DLC2)
1 cable for the two 2 bulb bar lights over the sink
1 3c & earth which goes to the 3 gang light switch by the back door
1 3c & earth which goes from the 3 gang light switch by the kitchen door, to the 2 gang light switch by the bathroom (This is the 2way cable, so that DLC 2 can be turned on/off, from by the kitchen door or from the bathroom door)
The 10mm main bonding cable to the water supply into the kitchen
Have you decided to rewire your house now, in addition to the kitchen rewire and board change. You do realise this makes you responsible for the whole of your installation and requires an EIC.
No I have not decided to rewire the house as well, only the kitchen is being rewired. The 4 old circuits for the rest of the house are staying (the 4 old circuits are: the downstairs sockets (32A RCBO), the upstairs sockets (32A RCBO), the downstairs lights (6A MCB) & the upstairs lights (6A MCB))
It is just 6 new circuits for the kitchen & Utility room.
They are:
- Kitchen Ring (32A RCBO)
Utility Room Ring (32A RCBO)
Smoke alarms (6A MCB)
Kitchen, bathroom, utility room & back outside lights circuit (6A RCBO)
Kitchen A/C (? MCB)
Cooker (45A MCB) (It's a big all electric range cooker, which will be on a 10mm cable)
Plus the 5 new circuits which were put in a couble of months ago.
They are:
- Shed (32A MCB)
Loft power (20A RCBO)
Immersion Heater & Boiler power (16A MCB)
Shed Freezer (16A RCBO)
So the only circuits which I have rewired are: the Kitchen Ring, the Kitchen lights & the Cooker
Socket & 2 downlights cables, above the new ceiling
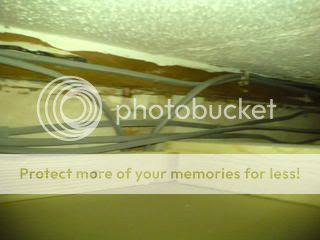
New Ceiling joists
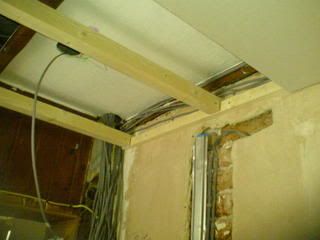
New cables to new bathroom light switch

Temp Supply to bathroom light
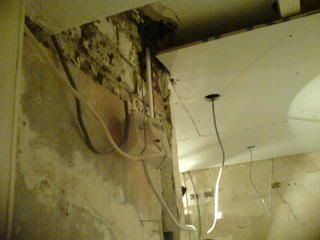
New ceiling

New ceiling
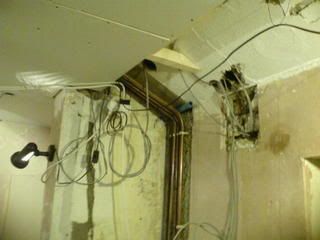
New ceiling
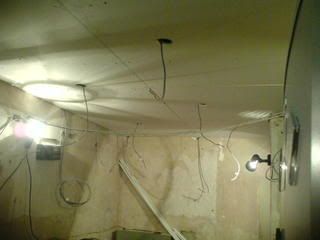
New ceiling
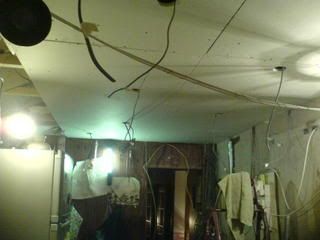
New ceiling
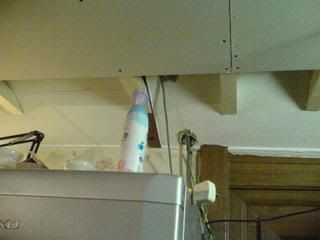
Cables for fridge socket & 1st under cupboard lights socket
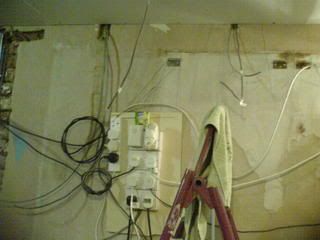
All of the new cables
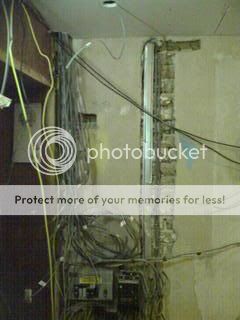
Socket cables

Under cupboard lights cables

The new joint in the cable to the bathroom light
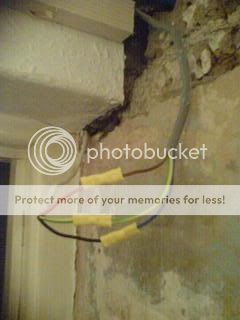
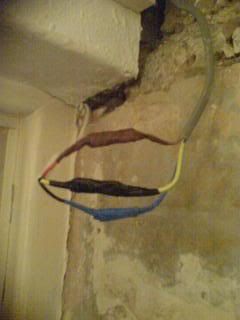
The new joint in place


New Ceiling joists

New cables to new bathroom light switch

Temp Supply to bathroom light

New ceiling

New ceiling

New ceiling

New ceiling

New ceiling

Cables for fridge socket & 1st under cupboard lights socket

All of the new cables

Socket cables

Under cupboard lights cables

The new joint in the cable to the bathroom light


The new joint in place

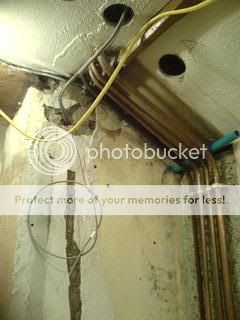
Not electrical but that blue water pipe above the bath room ceiling....did you lag it before boxing it in ?
You may find you get condensation on it that will drip onto the ceiling and create a damp patch.
You may find you get condensation on it that will drip onto the ceiling and create a damp patch.
On a parallel thread here:
---------------------------------
---------------------------------
Why have you used yellow crimps? They are for 4-6mm² cable. Insulation tape isn't a good idea too. Can you not pull back to where the wire goes and connect a new piece in?
---------------------------------
Can you not pull back to where the wire goes and connect a new piece in?
No I cannot pull back to bathroom light & replace the whole cable, as to do so would mean chiping off some of the wall tiles in the bathroom, to replace the cable. (the bathroom is a single storey extension, off of the kitchen, on the back off the house)
Insulation tape isn't a good idea too
Why is insulation tape not a good idea
---------------------------------
Cos it dries out and falls off, or can leave a horrible gluey mess. All connections should also be made in a suitable enclosure.
Why did you use yellow crimps?
There is usually more than one way of going about a job, I take it the wire goes up the wall inside the bathroom in a safe zone? Is there a void above the bathroom? Can you feed a new piece of cable via an alternative route?
MDB.
Given you have notified your LABC, did you get your first fix work signed off before the ceilings were fitted.
Given you have notified your LABC, did you get your first fix work signed off before the ceilings were fitted.
That joint on the 1mm is aweful.
Wrong sized crimps, and not adequately enclosed. Insulation tape should not be used as insulation. It should be called electricians taps.
Wrong sized crimps, and not adequately enclosed. Insulation tape should not be used as insulation. It should be called electricians taps.
Did you test the cable you've crimped and is it still accesible to joint it properly. To get yellow crimps on a 1mm, you have had to deform them.
DIYnot Local
Staff member
If you need to find a tradesperson to get your job done, please try our local search below, or if you are doing it yourself you can find suppliers local to you.
Select the supplier or trade you require, enter your location to begin your search.
Please select a service and enter a location to continue...
Are you a trade or supplier? You can create your listing free at DIYnot Local
Sponsored Links
Similar threads
- Replies
- 25
- Views
- 3K
